SunDoge's Blog

What TripleZ don't know

0%

使用 GitHub Action 自动部署 Hexo 博客

基本流程参照 https://github.com/marketplace/actions/hexo-action

Step 1. 生成 ssh key pair

首先,我们需要生成 ssh key pair。最好是专门为这个仓库生成一个 pair,因为后面需要上传私钥,如果是本机常用的 ssh key pair,会存在一定风险。

1
ssh-keygen -t rsa -C "username@example.com"

邮箱可以修改为自己的邮箱,询问保存 key 的文件路径时,随便写一个,避免覆盖原有的 key。

1
2
3
 ± ssh-keygen -t rsa -C "username@example.com"
Generating public/private rsa key pair.
Enter file in which to save the key (/Users/sundoge/.ssh/id_rsa): hexo

以输入 hexo 为例,在当前目录下得到 hexohexo.pub 两个文件,前者是私钥,后者是公钥。

将公钥填入 Settings > Deploy Keys。将私钥填入 Settings > Secrets,键名设为 DEPLOY_KEY。这样 GitHub Action 就可以利用 DEPLOY_KEY 将生成好的静态页面 push 到部署分支。

Step2: 配置 GitHub Action

创建.github/workflows/xxx.yml,用你认为的 workflow 名字命名。Hexo Action里面给出了详细的设置,我这里只放我自己的

1
2
3
4
5
6
7
8
9
10
11
12
13
14
15
16
17
18
19
20
21
22
23
24
25
26
27
28
29
30
31
32
33
34
35
36
37
name: Hexo Deploy

on:
push:
branches: ['dev']

jobs:
build:
runs-on: ubuntu-latest
name: A job to deploy blog.
steps:
- name: Checkout
uses: actions/checkout@v2

- name: Cache node modules
uses: actions/cache@v2
id: cache
with:
path: node_modules
key: ${{ runner.os }}-node-${{ hashFiles('**/package-lock.json') }}
restore-keys: |
${{ runner.os }}-node-

- name: Install Dependencies
if: steps.cache.outputs.cache-hit != 'true'
run: npm ci

# Deploy hexo blog website.
- name: Deploy
id: deploy
uses: sma11black/hexo-action@v1.0.2
with:
deploy_key: ${{ secrets.DEPLOY_KEY }}

- name: Get the output
run: |
echo "${{ steps.deploy.outputs.notify }}"

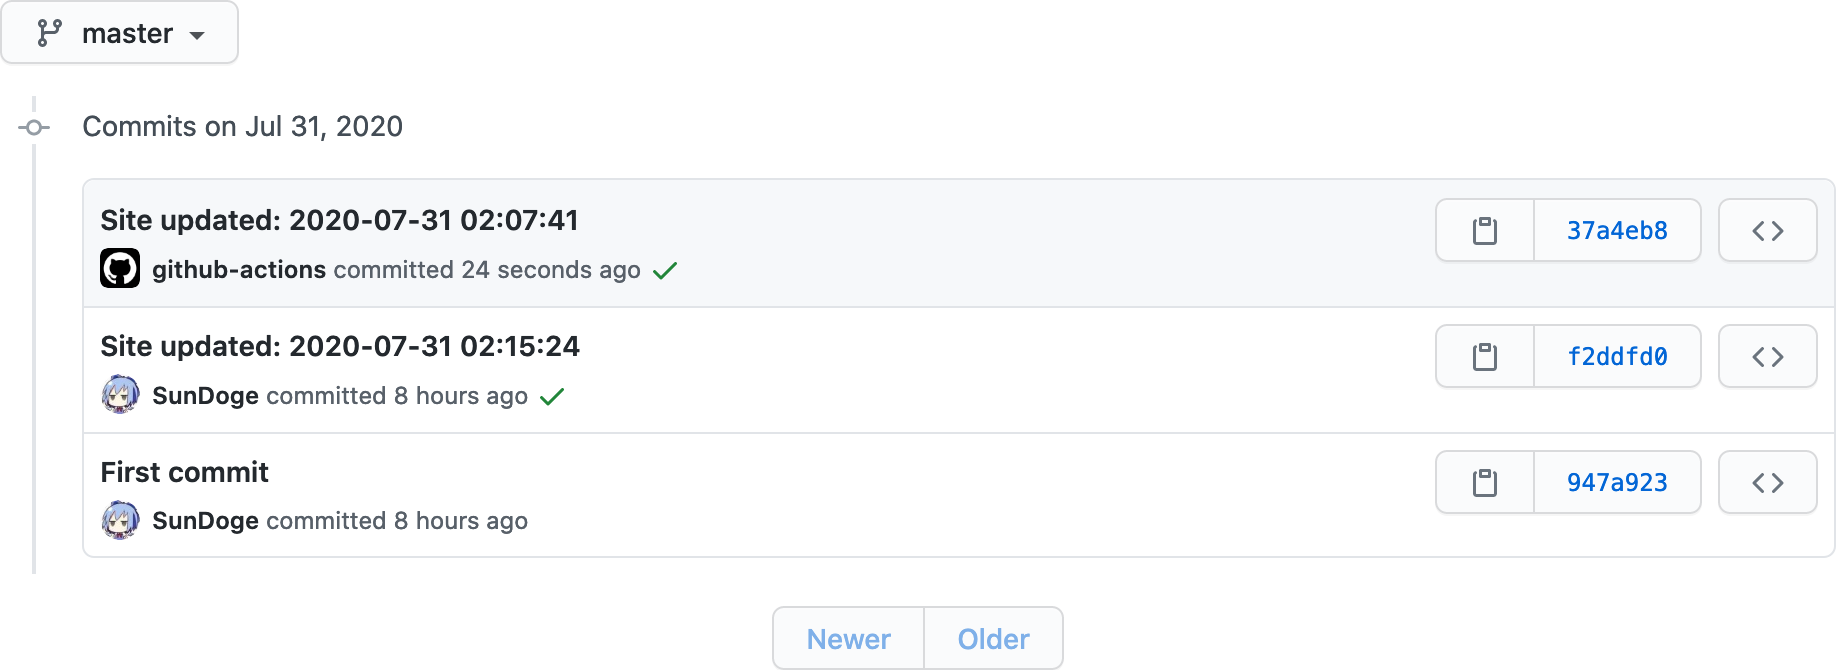
首先我把写作分支设在了 dev,所以触发条件是 dev branch 存在 push 操作。然后我们会检查 node_modules 的缓存,如果没有缓存就 npm install 并缓存。最后我们调用 sma11black/hexo-action,里面本质上就是帮你执行了 hexo deploy 的操作,这样编译好的静态页面就推到 master branch 了。

尝试过几次,删掉多余的 dependency 之后,GitHub Action 正常运作。

image.png

不足的地方在于调用别人的 action,可能有一些需要手动安装的依赖缺失。后续考虑研究一下 GitHub Action。